========= Multi-Author AdSense ========= Skipped due to [standard ad slot 1] being empty for [user ID 4]. ========================================
My 99 Mustang GT quit blowing cold air. A set of AC manifold gauges
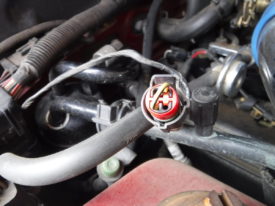
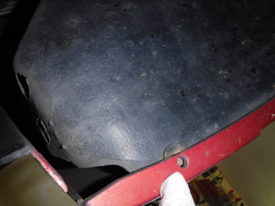
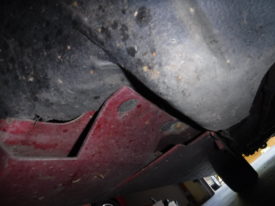
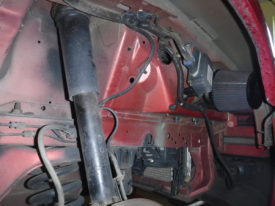
Low Pressure Switch
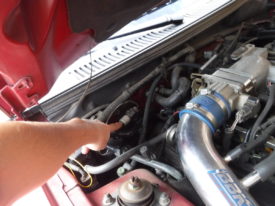
Zoomed-out view of low pressure switch location
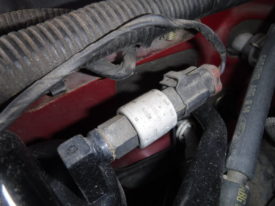
Close-up of switch
One common issue on these cars is the low pressure switch
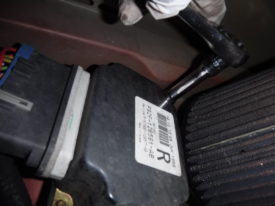
Testing the Low Pressure Switch
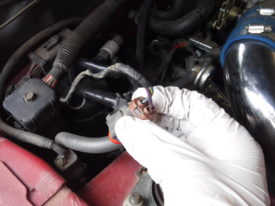
Unplug the switch connector
Testing this switch is easy. Unplug the connector from the switch as shown.
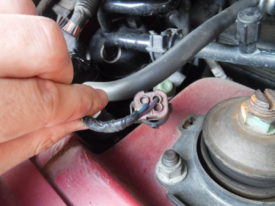
There are only two wires in it
Jumper the two wires together
When you look at the back of the connector, you can see that only two of the four pins actually have a wire going to them. If you're sure the system has refrigerant, you can simply take a piece of thick wire and jump these two pins together. This will bypass the low pressure switch altogether. When you start the car and turn on the AC, check if the compressor now turns on. If so, you know this switch has gone bad.
As linked above, this is a cheap switch
If this works for you, congrats. It did not work for me.
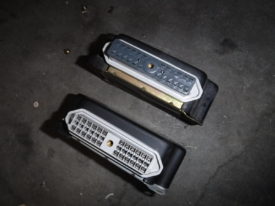
Relay Control Module Replacement (If it wasn't the switch)
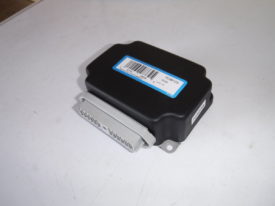
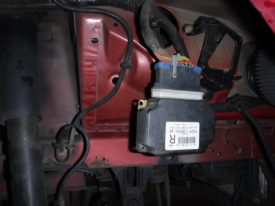
This is the relay control module
I ran the above test, and my compressor stayed off. It turns out that the Mustang has a relay control module
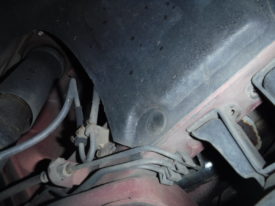
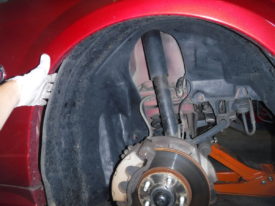
Getting to the relay control module
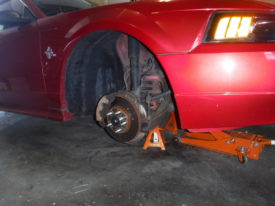
Front passenger tire removed
To get to the module, put the front of the car on jack stands and remove the front passenger tire. The relay control module is in the front passenger fender well.
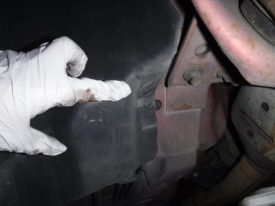
Removing the Fasteners
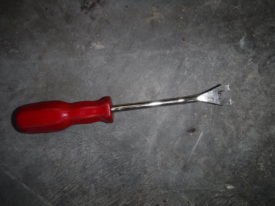
Plastic fastener removal tool
You likely want to have one of these plastic fastener removal tools
First Fastener
Second Fastener
Third Fastener
Fourth Fastener

Fifth Fastener
Sixth Fastener
Seventh Fastener
I had to remove all of the pictured fasteners on my car. It's possible they've been "modified" by a redneck, but this seems pretty close to factory.
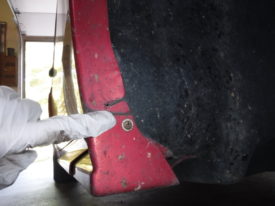
Pull Out the Fender Liner
Pry
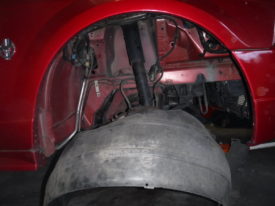
Pull
Once all of the fasteners are removed, the fender liner pulls out relatively easily.
Removing the Old Module
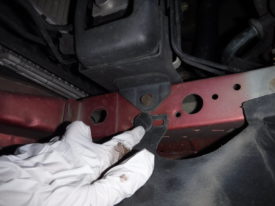
RCM Location

Closer View
To remove the old module, you'll need both a 5mm


First Bolt
Second Bolt
Module freed and hanging
The 5.5mm socket should remove the two bolts pictured above. Once that's done, the module will just be hanging loose from its plug.
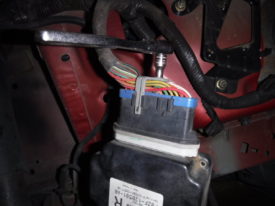
There's a bolt holding this connector in

After removal
The final step is to undo this tiny bolt with a 5mm head. Once that's done, the connector should come out fairly easily.
Reusing the Old Insulator
I had to move this insulator over to the new module
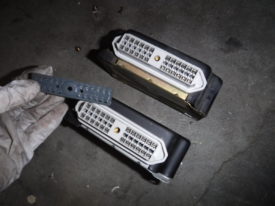
After pulling it off of the old one
If you look at the old vs the new, you may see that the new one doesn't have this rubbery insulation membrane. I went ahead and swapped it over to the new module before installing.
Conclusion
And that's it. If you luck out like me, the AC will now work when you start the car. These are the two most common electrical problems that cause Mustang AC to quit working, so I'd try these first.
Source: https://did-it-myself.com/99-04-mustang-relay-control-module-replacement/
Posted by: marlavareat2.blogspot.com


0 Komentar